
An old trend originally used to cover up plumbing and create storage, sink skirts are showing up in kitchen decor again and I personally love it! By adding textiles, you can quickly warm up a dull, cold feeling space. Dress up your kitchen, bathroom, or even laundry room by following this simple DIY Sink Skirt Tutorial.

DO I NEED TO KNOW HOW TO SEW FOR THIS DIY SINK SKIRT TUTORIAL?
This tutorial can be done with basic sewing skills, or even some bonding tape and an iron. Since my fabric was on the thicker side, I needed to sew it. If you prefer not to sew and are using a lighter weight fabric, you could make your sink skirt by using bonding tape. I've seen sink skirts made with all sorts of fabric, even a drop a cloth.
SUPPLIES
fabric for skirt
tension rod (we used a small one from the hardware store)
iron
sewing machine with thread or bonding tape
scissors

HOW TO MAKE A DIY SINK SKIRT
1. Assess where you will hang the tension rod to hang the sink skirt, and remove lower cabinets if necessary.

2. Cut the fabric.
I found that using a lot of fabric for my sink skirt gave it the bunched look I wanted, and also added the right amount of volume.
For the height, I measured from the top of where the tension rod was going to be under the sink to the floor (I wanted mine to hang just above the floor). Then, I added about 6 inches to that to allow for making the seam and the loop that the rod would go through. (Note: Hem length is a personal choice. Have the hem just off the floor if it's often wet, touching for a traditional look, or allow it to puddle for added drama.)
For the width, I measured the width of the cabinet opening and multiplied that times five. Yes, it is a lot of fabric! However, it's necessary if you like the bunched look. It's better to error on the side of too much fabric, in my opinion. If you want there to be an opening in the middle of your skirt, cut the fabric in half so you will have two panels, instead of one big one.
3. Hem the raw edges on the sides and the bottom.
Fold the fabric under to hide raw edges on the bottoms and sides, iron the fold, and pin. Sew into place, or use bonding tape.

4. Sew the loop at the top for the tension rod.
Fold over the top about 1.5-2 inches to make a loop for the tension rod to go through. Iron the fold and pin. Sew into place, or use bonding tape.


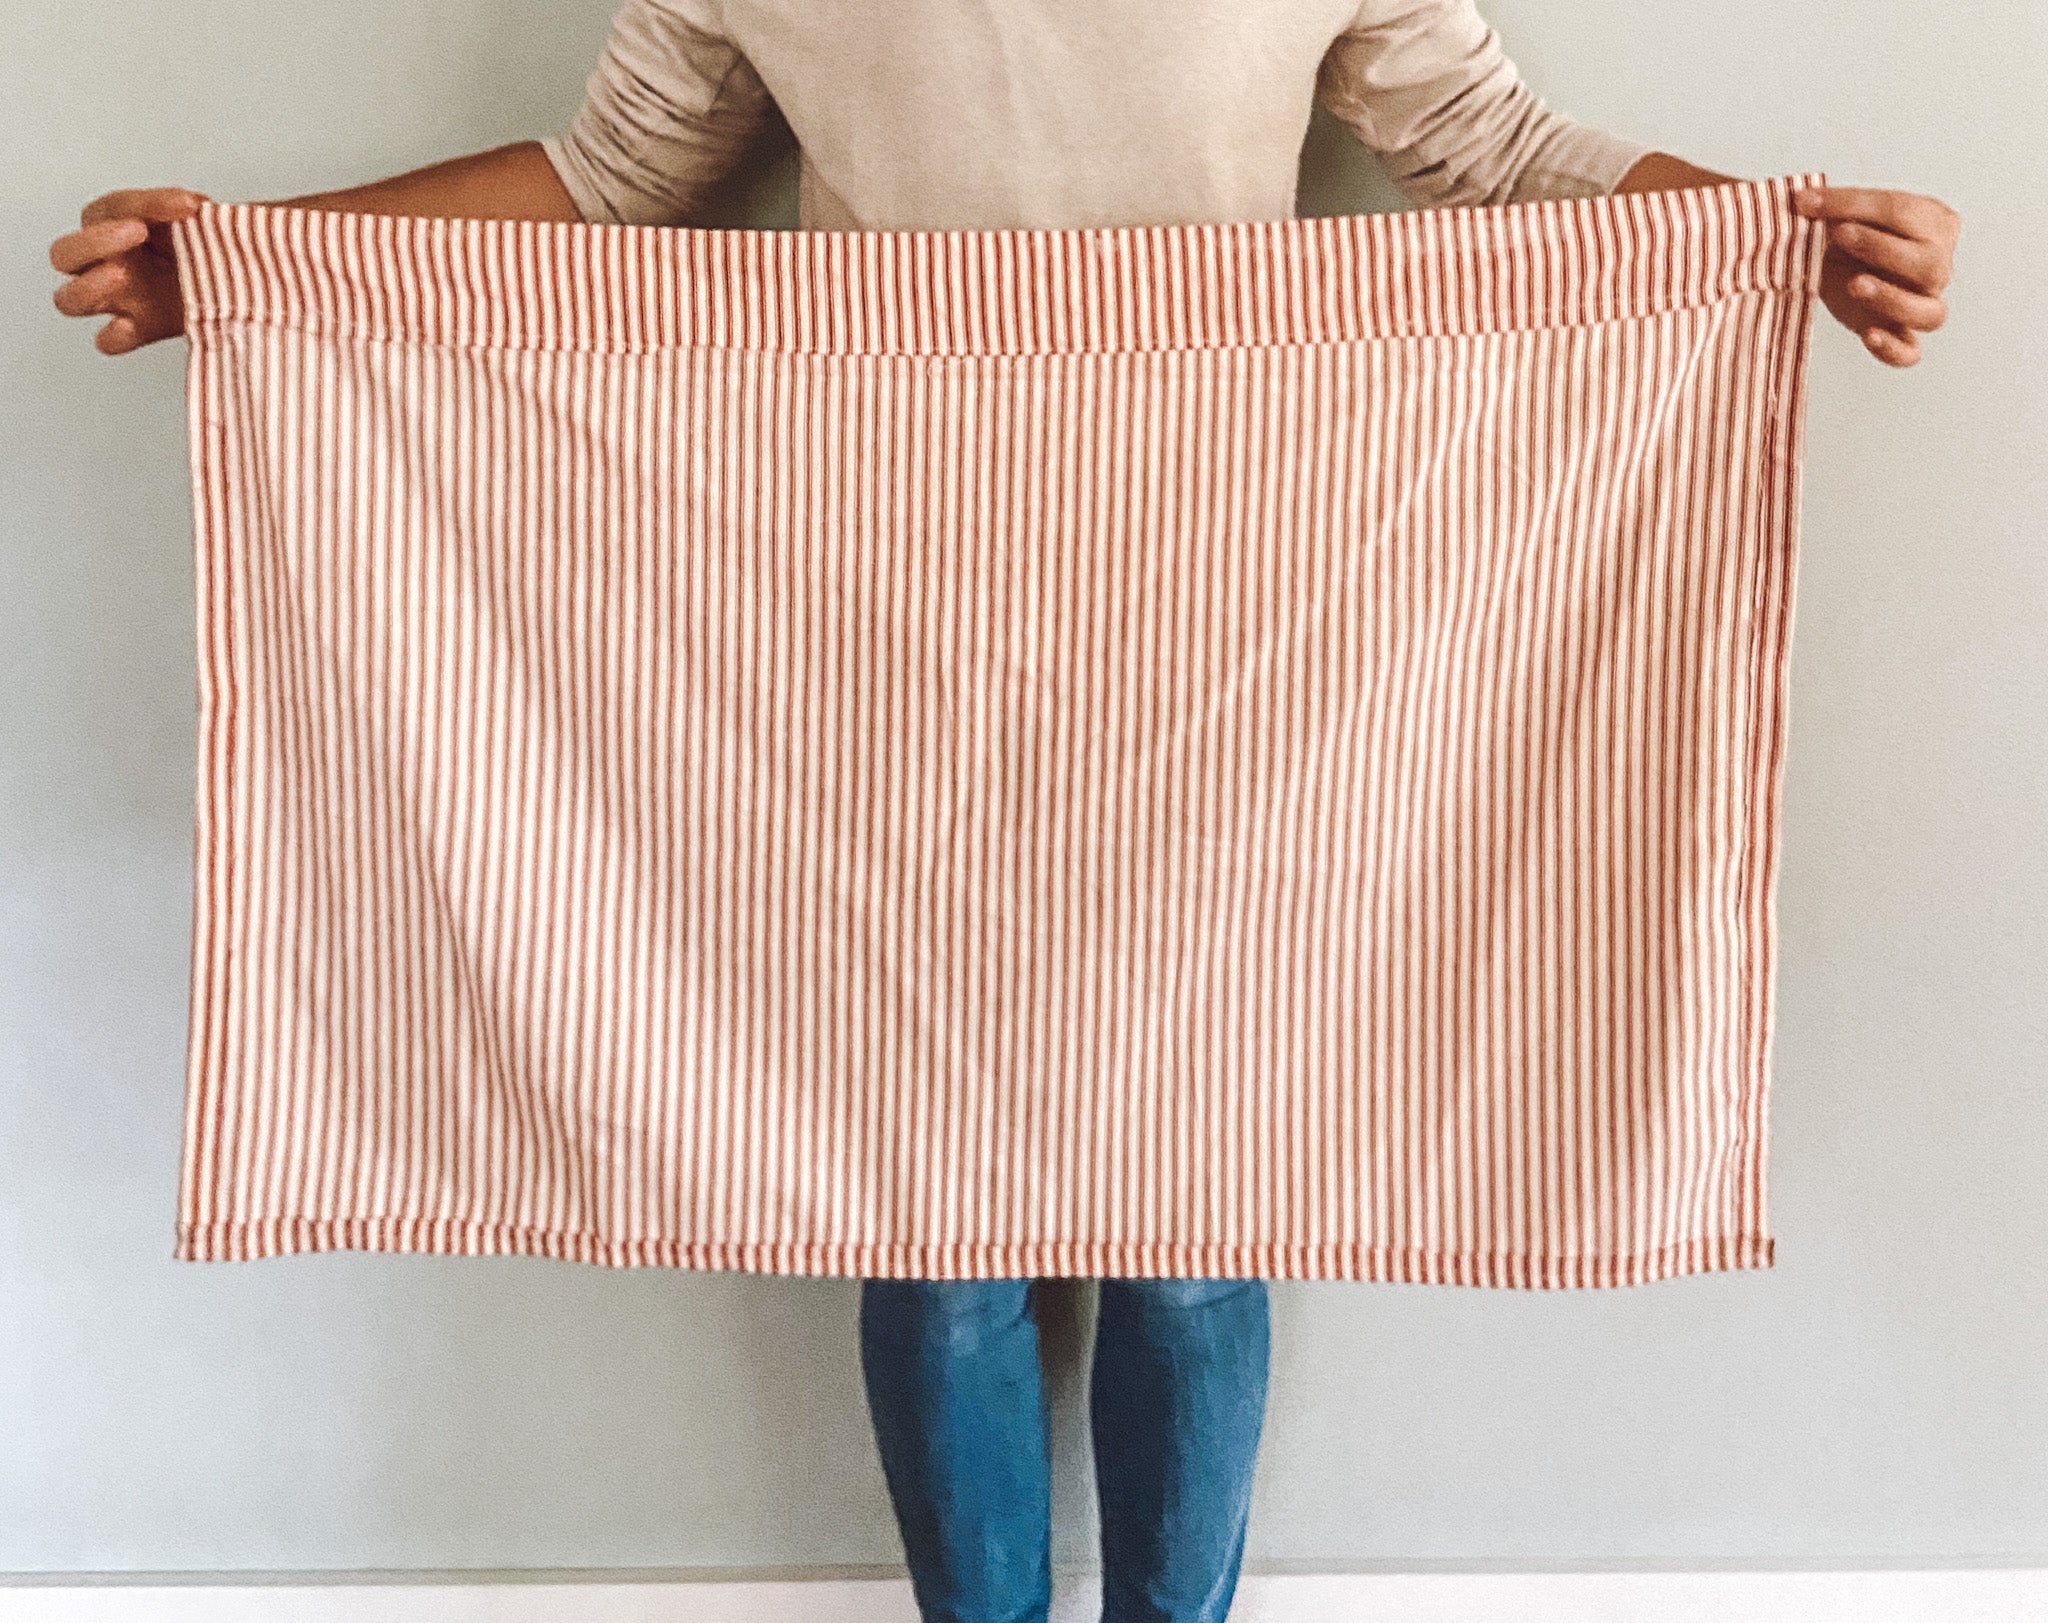
This is one of my finished panels! I love the old fashioned look in my kitchen, and already have plans for making a spring sink skirt too!